 how-to
How to Inspect Roof for Storm Damage: Step-by-Step Guide
Table of Contents
- Safety First: Before You Inspect Your Roof
- Storm Damage Roof Inspection From the Ground
- Roof Damage Inspection Checklist: What to Look For
- How to Check for Hail Damage on a Roof
- Inspect Your Attic and Interior for Water Damage
- What to Do After Storm Damage to Your Roof
- Common Mistakes to Avoid During Roof Inspection
- Frequently Asked Questions
Last Updated: October 18, 2026
Astro Roofing 📧 Astroroof@yahoo.com | 📞 817-285-7663
Safety First: Before You Inspect Your Roof
Learning how to inspect roof for storm damage can help you catch problems early. But your safety comes first. Never rush onto a roof without proper precautions.
Wait at least 24 hours after a storm passes. This gives you time to assess conditions safely and lets the roof dry if it's wet. High winds and rain create hazardous surfaces.
Here's what you need before you start:
- Sturdy ladder in good condition
- Non-slip shoes with rubber soles
- A helper to hold the ladder and spot you
- Binoculars for ground-level viewing
- Your phone to take photos and videos
- Flashlight if checking during low light
Never climb onto a roof if it's wet, icy, or still windy. Never climb alone. If the storm was severe, consider calling a professional instead.
If you see obvious damage from the ground, large debris, missing sections, or sagging areas, stop. Call a roofing professional right away. This indicates serious structural issues that need expert attention.
Storm Damage Roof Inspection From the Ground
Start with a ground-level visual inspection
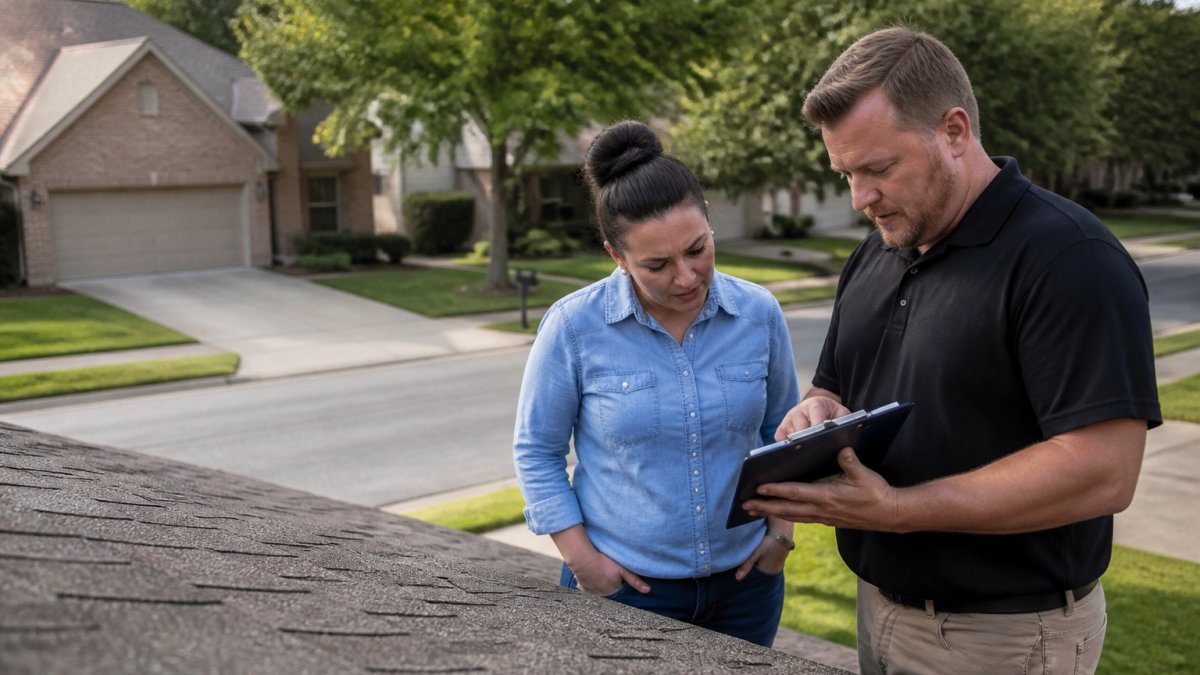
The safest way to inspect your roof for storm damage is from the ground. Use binoculars and your phone camera to spot problems from a distance.
Start by walking around your entire house. Look at the roof from each angle. Take your time. Most visible damage shows up from ground level if you know what to look for.
Stand back about 20 feet from your home. This distance gives you a clear view of the entire roof surface. Look for obvious signs like missing shingles, debris, or sagging sections.
Document everything you see. Take photos and videos from multiple angles. These images help your insurance company and any contractor you hire understand the damage scope.
Pay attention to:
- The overall roof line (is it straight or sagging?)
- Missing or displaced shingles
- Visible debris on the roof
- Damaged gutters or downspouts
- Broken tree branches near or on the roof
- Discolored or wet patches
Use binoculars for closer examination
Binoculars let you see details without climbing. This is the smart approach for most homeowners. You get a closer look at potential problem areas while staying safely on the ground.
Focus on specific sections that concern you. Scan slowly across the roof surface. Look for texture changes, color differences, or anything that looks out of place.
Binoculars help you spot:
- Curled or lifted shingle edges
- Missing shingle granules (bald spots)
- Cracked shingles or tiles
- Bent flashing around vents and chimneys
- Gaps where shingles should overlap
- Rust or corrosion on metal components
Take notes about what you see. Write down the location of each problem. Note whether damage is isolated or widespread. This detail matters when you file an insurance claim or get repair quotes.
Roof Damage Inspection Checklist: What to Look For
Missing, lifted, loose, and curled shingles
Missing shingles expose the roof deck underneath. Water will penetrate quickly. This is urgent damage that needs repair soon.
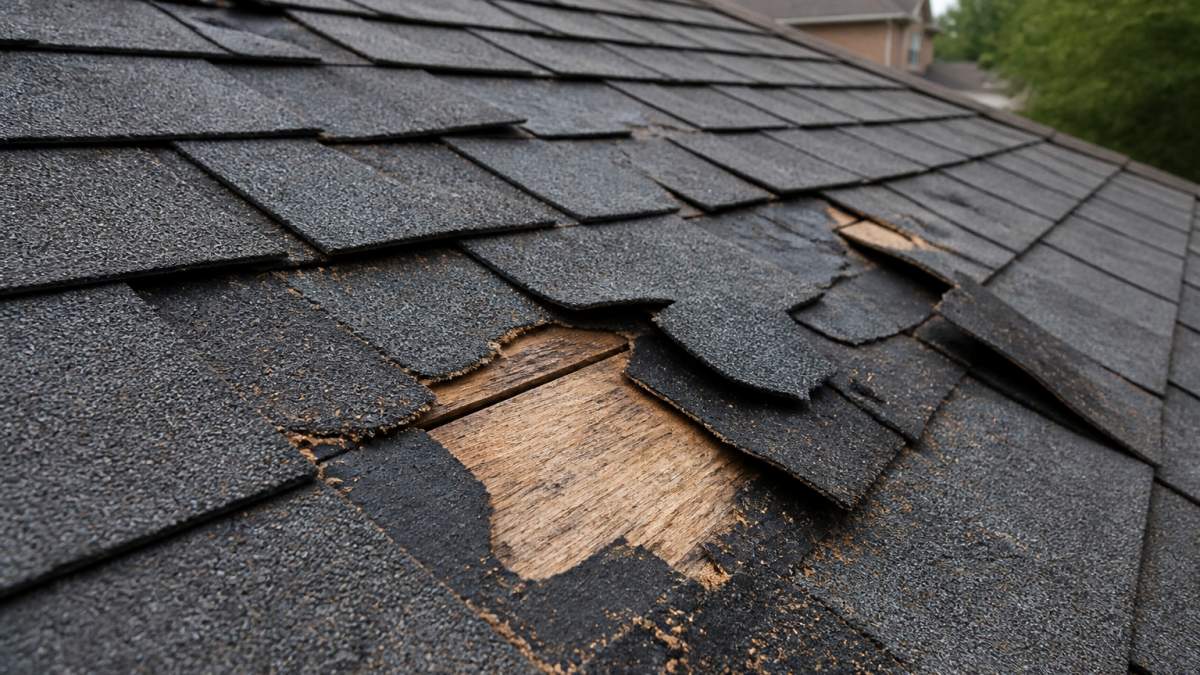
Look for shingles that are completely gone. You'll see bare wood or underlayment where shingles should be. Sometimes shingles blow off during high winds but land nearby.
Lifted shingles have edges that curl up or peel away from the roof. They may not be missing entirely, but they're no longer sealed.
Loose shingles shift when you look at them closely. They're not fully attached. Storm winds often loosen shingles without removing them completely.
Curled shingles have edges that turn upward. This happens when shingles age or get too hot. Curling creates gaps where water can enter.
Cracked or broken roofing materials
Cracks in shingles let water through. Broken pieces leave gaps in your roof's protection. Both need attention.
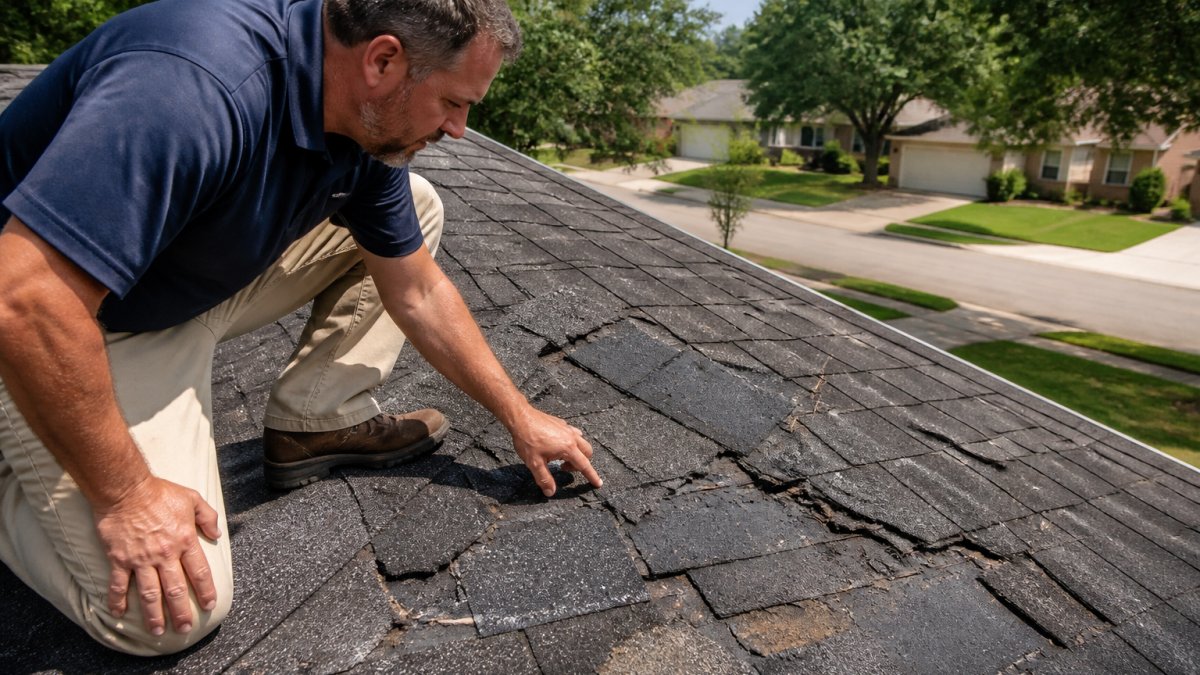
Look for visible cracks running through shingles. Some cracks are small and barely noticeable. Others split shingles into pieces. Even small cracks can grow larger and let water in.
Broken shingles have pieces missing or hanging loose. Storm hail often causes this damage. You'll see jagged edges or shingles that look shattered. This damage is especially common after severe weather.
Metal roofs can dent, bend, or develop seams that separate. These issues compromise the weathertight seal. Tile or slate roofs may have broken pieces that need replacement.
Roof debris and fallen shingles
Storms leave debris scattered across roofs. Tree branches, leaves, and shingle pieces accumulate. This debris traps moisture and can cause rot.
Look for any foreign material on your roof surface. Tree limbs are obvious. So are large piles of leaves or twigs. But also check for smaller debris like bark, seeds, or broken branches.
Fallen shingles may land on your roof, in your gutters, or in your yard. Count missing shingles from the ground. Note their location. This helps you understand the damage pattern.
Debris in gutters blocks water flow. Water backs up and seeps under shingles. It can also damage the gutter system itself. Clear gutters after storms to prevent this problem.
Damage to gutters, downspouts, and vents
Gutters direct water away from your roof and foundation. Damage to gutters creates serious problems. Storm winds often bend, dent, or separate gutters.
Look for gutters that are bent, sagging, or pulling away from the roof edge. Check for gaps where sections have separated. Look for holes or punctures in the gutter material.
Downspouts should be straight and properly connected. Bent downspouts don't direct water away effectively. Disconnected downspouts let water pool near your foundation.
Roof vents stick up through the roof surface. Storm winds can bend, crack, or dislodge them. Damaged vents let water and pests into your attic. Check that all vents are secure and intact.
Flashing and chimney damage
Flashing is metal material that seals gaps where the roof meets walls, vents, and chimneys. Damaged flashing is a leading cause of roof leaks. Storm damage often bends or separates flashing.
Look for bent, cracked, or missing flashing. Check around chimneys, vents, and walls. Look for gaps where flashing has pulled away from the roof.
Chimneys can crack or develop loose mortar joints. Bricks may shift or separate. These issues allow water to enter your home. Chimney damage needs prompt attention.
How to Check for Hail Damage on a Roof
Hail creates distinctive damage patterns. Learning to spot hail damage helps you file accurate insurance claims.
Hail strikes shingles and creates small dents or cracks. The damage looks like it was punched into the shingle surface. Unlike wind damage, which often removes entire shingles, hail damage is more localized.
Look for:
- Small round dents in shingles
- Cracks radiating from impact points
- Missing granules creating dark spots
- Bruising or discoloration on shingle surface
- Damage concentrated on one side of the roof
Hail damage may not cause immediate leaks. But it weakens shingles and shortens their lifespan. Water penetration happens gradually over time.
Take detailed photos of hail damage. Document the pattern across different roof areas. This evidence supports your insurance claim. Professional inspectors can assess whether repairs or replacement is needed.
Inspect Your Attic and Interior for Water Damage
Look for water stains and moisture
Interior damage reveals problems that may not show on the roof surface. Water stains indicate that water has already entered your home. This is a sign of active or recent leaks.
Go into your attic during daylight if possible. Look at the underside of the roof. Water stains appear as dark marks or discoloration on wood.
Trace stains backward to find the leak source. Water often travels along roof framing before dripping down. The stain location may not be directly under the leak.
Look for:
- Dark or wet marks on roof framing
- Discolored insulation
- Mold or mildew growth
- Peeling paint or damaged wood
- Musty odors indicating moisture problems
Moisture in your attic promotes mold growth and wood rot. These problems spread quickly if left untreated. Address water damage immediately.
Check for roof leaks and sagging areas
Sagging roof sections indicate structural problems. This could mean rotted wood, compromised framing, or water damage. Sagging is a serious issue that needs professional evaluation.
Look for any areas where the ceiling or roof line appears to dip or sag. Even slight sagging is worth investigating. It suggests the roof structure is failing.
Leaks appear as water dripping or flowing into your home. You might see active dripping during rain. Or you might find puddles on the attic floor. Some leaks are slow and only show up as stains.
Check these areas carefully:
- Corners and valleys where roof sections meet
- Areas around chimneys and vents
- Low points in the roof line
- Areas directly below visible roof damage
What to Do After Storm Damage to Your Roof
Document damage with photos and video
Photos and videos are essential for insurance claims. They create a record of damage that protects your interests. Document everything thoroughly.
Take photos from multiple angles. Include wide shots showing overall damage. Take close-ups of specific problem areas.
Video walkthrough is also helpful. Walk around your entire roof perimeter from the ground. Narrate what you see. Point out specific damage.
Include reference objects in photos. A person, ladder, or familiar item shows the scale of damage. This helps insurers and contractors understand severity.
Store photos and videos safely. Upload them to cloud storage. Email copies to yourself. Keep originals on your phone. This backup ensures you don't lose documentation.
When to call a roofing professional
You need professional help if you see any of these signs:
- Missing or significantly damaged shingles
- Visible water damage inside your home
- Sagging roof sections
- Structural damage to framing or supports
- Extensive debris on the roof
- Any damage you're unsure about
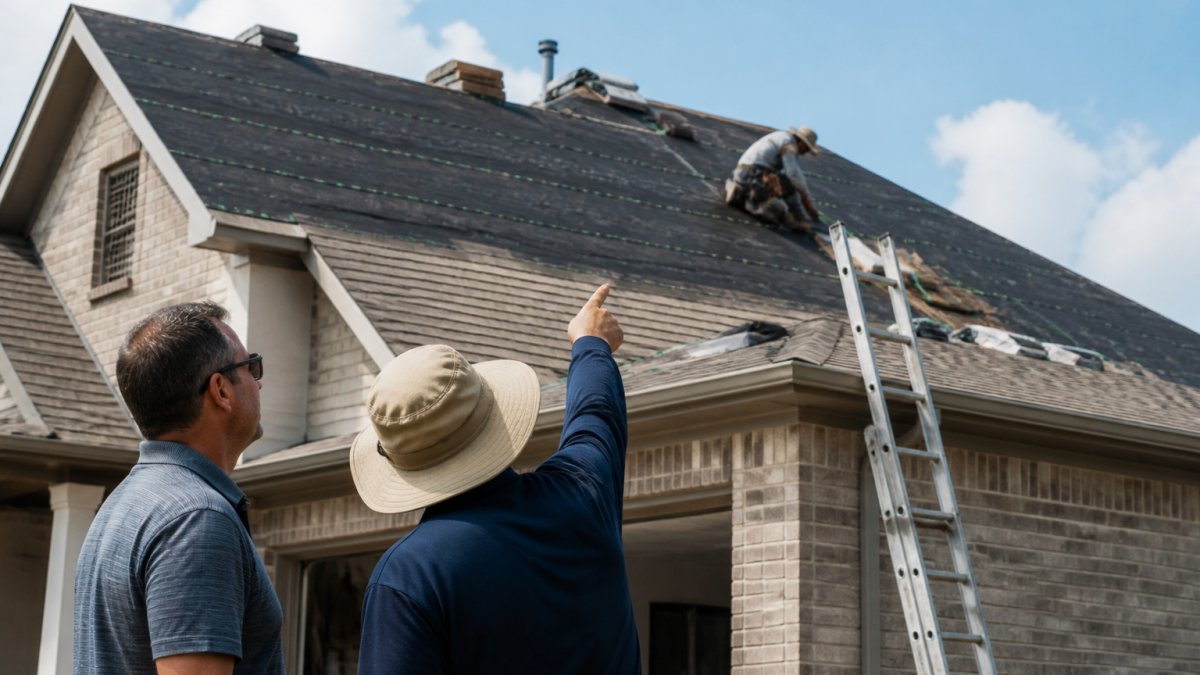
Professional inspectors have training and equipment to assess damage safely. They can identify problems you might miss. They provide documentation for insurance claims.
At Astro Roofing, we offer free inspections after storms. We document all damage and provide detailed reports. This helps you file insurance claims confidently. We can also recommend immediate temporary protection if needed.
Don't wait to call if you suspect serious damage. The longer water sits in your home, the more damage occurs. Mold can develop quickly. Wood rot spreads. Professional assessment prevents these problems from worsening.
Common Mistakes to Avoid During Roof Inspection
Many homeowners make mistakes when inspecting roofs.
Climbing onto a wet or icy roof. This is the biggest mistake. Wet surfaces are extremely slippery.
Inspecting alone. Never climb a ladder without someone present.
Ignoring small damage. Minor issues become major problems. A small crack lets water in.
Delaying professional inspection. If you see serious damage, call a professional immediately.
Taking unsafe photos or videos. Don't lean too far or stretch to get a better angle.
Not documenting damage thoroughly. Take many photos. Write down what you see. Note dates and times.
Storm damage to your roof demands prompt attention. Start with a ground-level inspection using binoculars.
Frequently Asked Questions
Can I inspect my roof for storm damage from the ground?
Yes, you can perform a storm damage roof inspection from the ground using binoculars to examine shingles, flashing, and gutters from a safe distance. This approach lets you identify obvious damage like missing shingles, debris, and gutter issues without climbing. For a thorough assessment, especially if you suspect interior damage, a professional inspection is recommended.
What should I check inside my home after a storm?
After a storm, inspect your attic for water stains, moisture, and signs of leaks. Look for discoloration on ceiling drywall, water pooling, and mold growth. Check interior walls near exterior corners for dampness. Document any water intrusion with photos. These interior signs often indicate roof damage that needs immediate professional attention to prevent structural and mold issues.
When should I call a roofing professional after a storm?
Call a roofing professional immediately if you notice missing shingles, visible leaks, sagging roof sections, or significant debris on your roof. If your roof is over 20 years old or you find extensive damage during your inspection, professional assessment is essential. Professionals can identify hidden damage and handle insurance claims, ensuring your home stays protected.
How do I document roof damage for an insurance claim?
Take clear photos and video of all visible damage from multiple angles, including ground-level shots and close-ups of specific problem areas. Document missing shingles, hail impacts, dents, and debris. Include interior water damage, stains, and moisture. Keep detailed notes of the storm date and damage location. This documentation supports your insurance claim and helps contractors provide accurate repair estimates.